Visio revolutionized diagramming in the early 2000s by introducing the concept of using pre-built shapes for drawing. This innovative approach, encapsulated by the motto “Drag, Drop, Done,” made diagram creation more accessible and less daunting. The following examples demonstrate how to efficiently create flowchart patent drawings in Visio.
Example 1: Quick Flow Capture
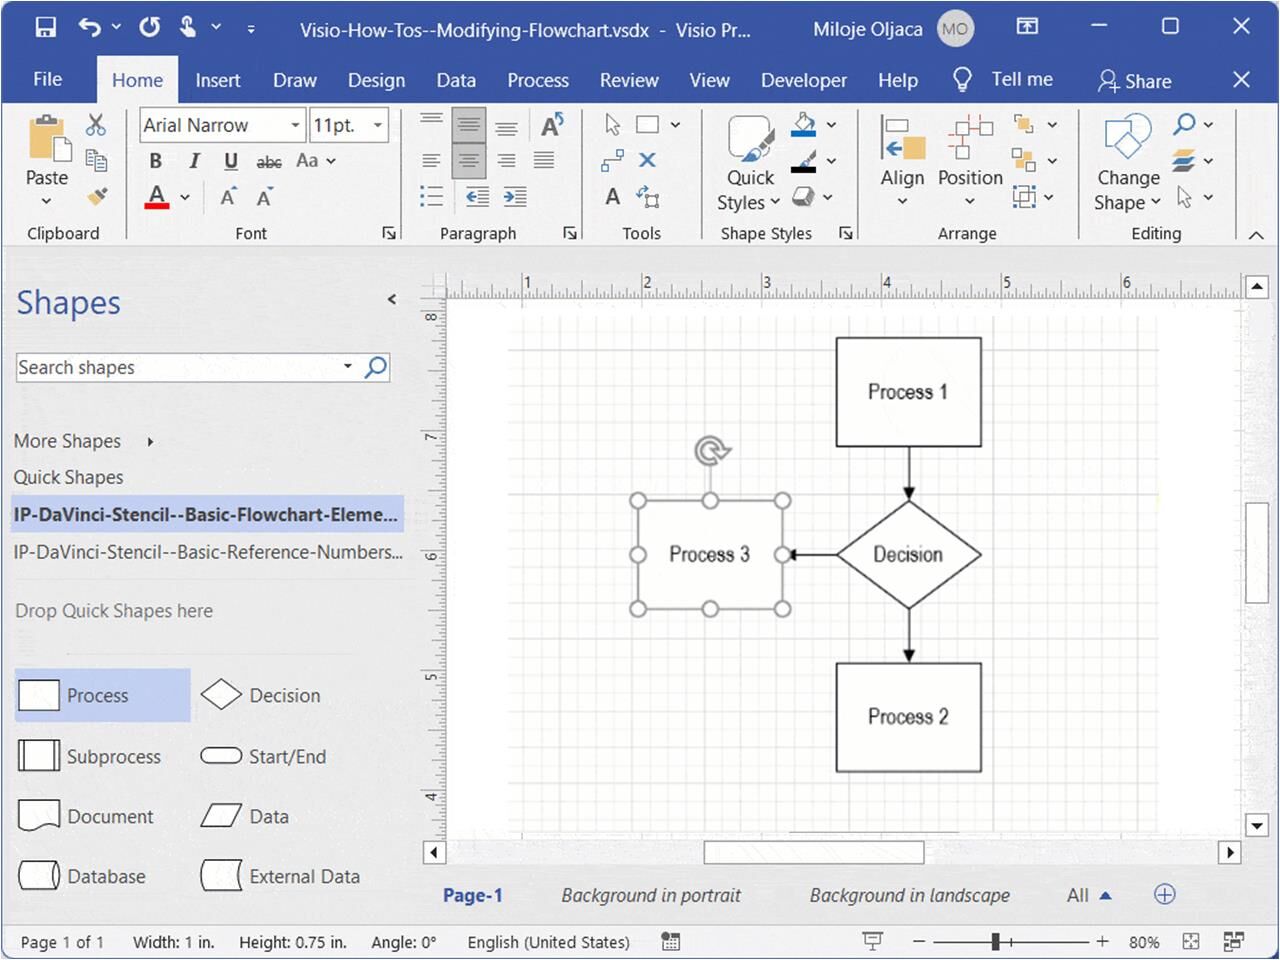
Suppose you have a clear understanding of the steps you want to diagram and their sequence. Your objective is to quickly capture the flow.
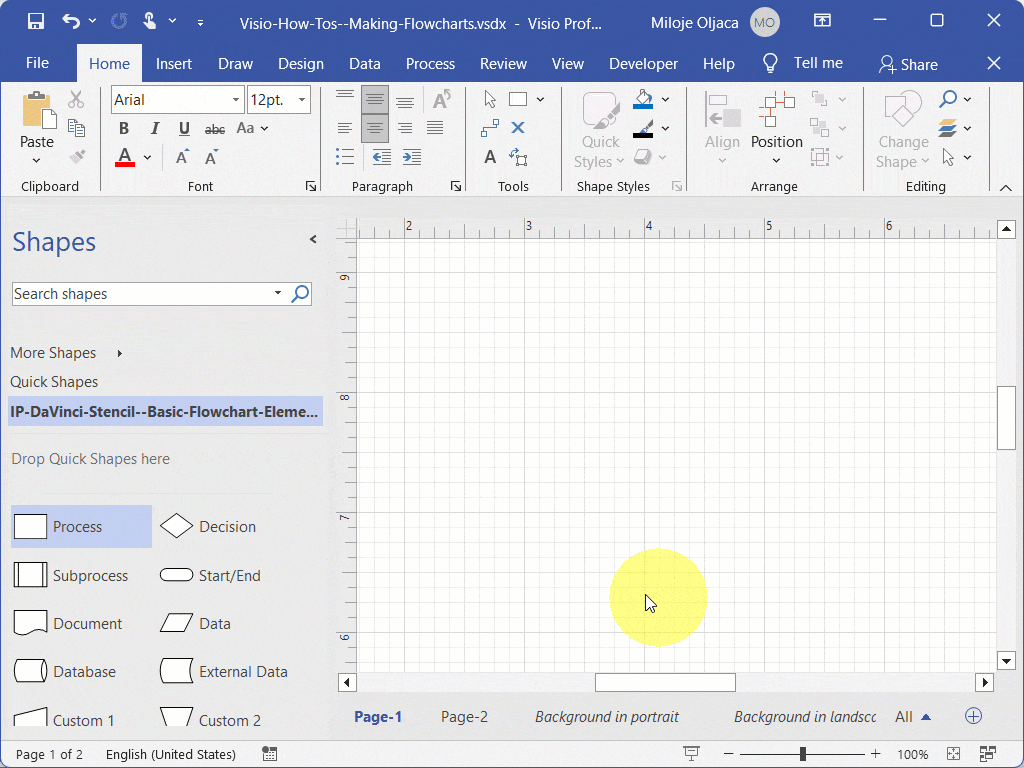
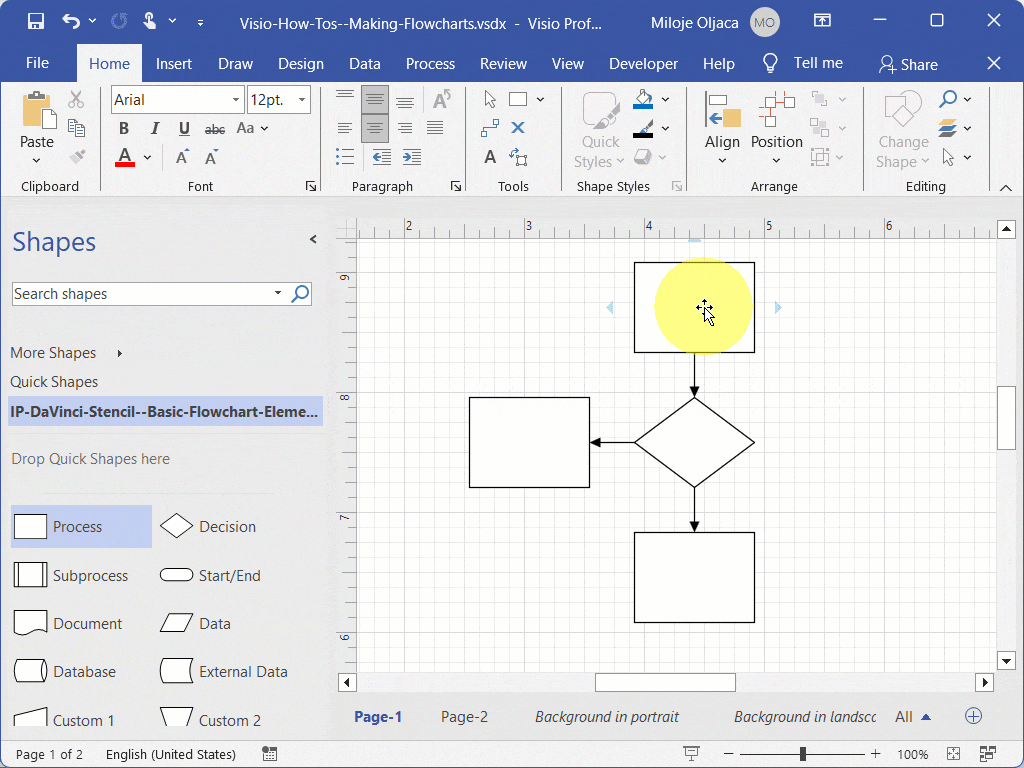
After placing your initial shape, you can utilize the AutoConnect feature to rapidly complete the rest of the diagram. Hovering over the selected shape will display four arrows. To add one of the first four Quick Shapes from your current stencil, hover over the corresponding triangle and click on the desired shape. This action will automatically add the shape, a connector, and ensure uniform spacing between the shapes.

The AutoConnect feature is ideal for quickly placing shapes on the page and then adding text to them. With just a dozen mouse clicks and some typing, you can create a complete diagram in under a minute.
Example 2: Detail First, Then Organize
In the first example, we explored using Visio’s AutoConnect feature to swiftly create a flowchart when you have a clear idea of the steps and their order. Now, let’s discuss how to build a diagram quickly even when some details are unclear.
Imagine you know the steps you want to diagram but are unsure about their layout or how they will fit together. How can you speed up the process?
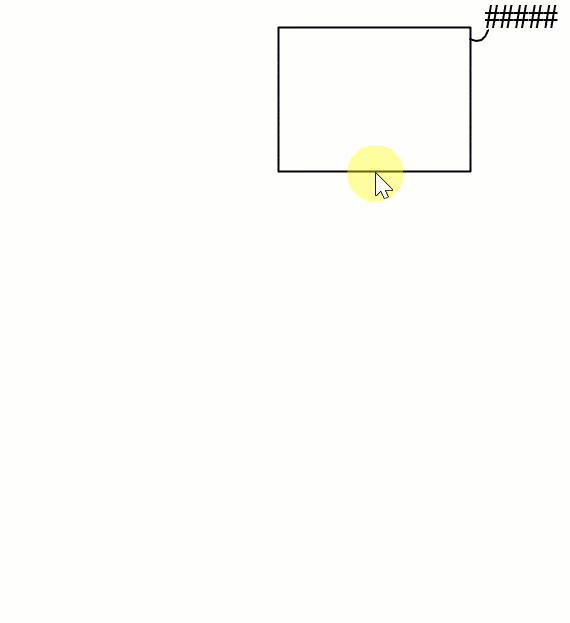
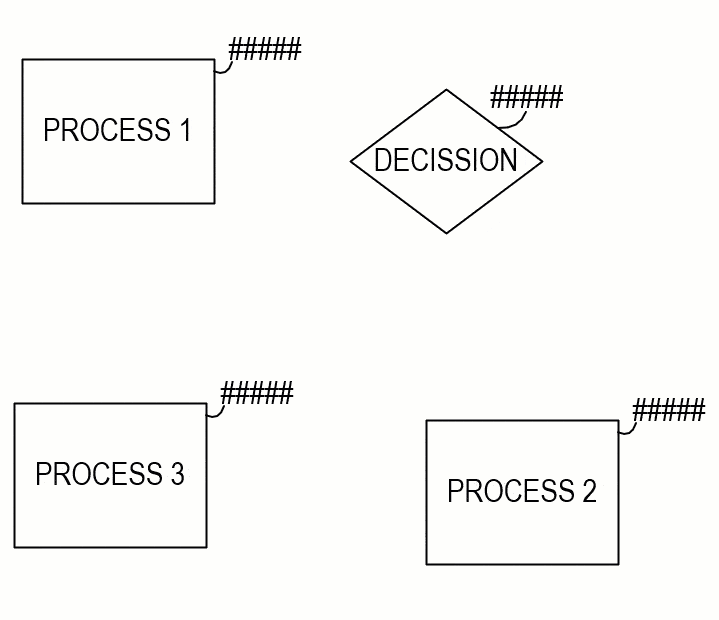
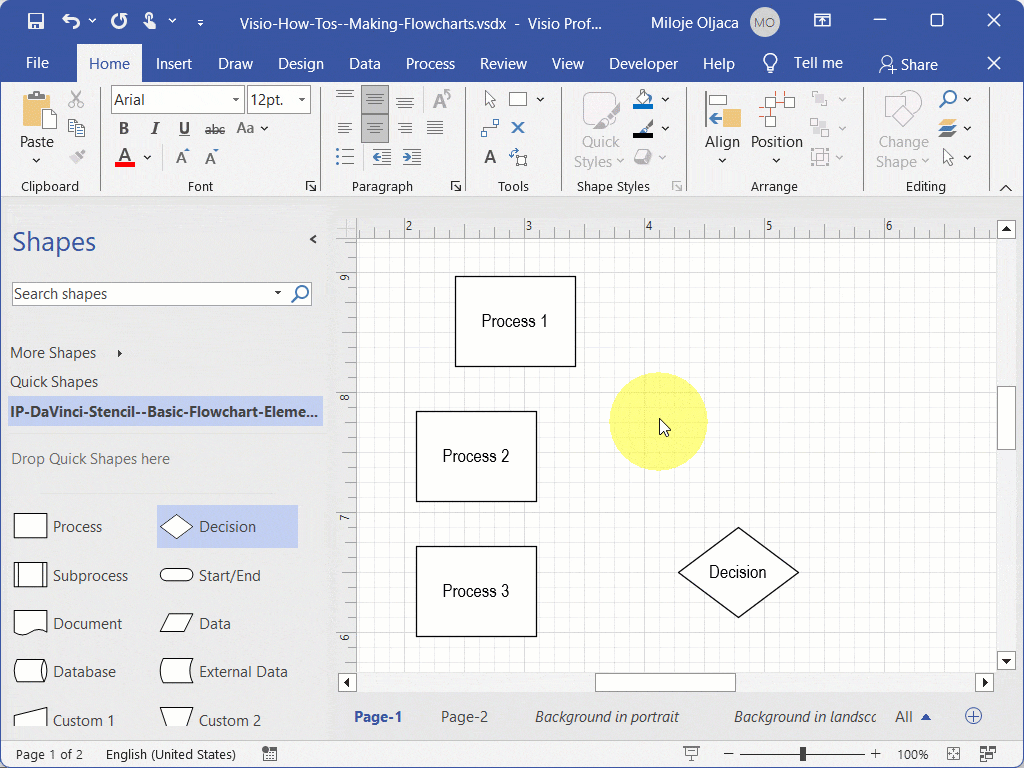
Begin by adding a shape for each known step and label it as you go. Don’t worry about their placement at this stage; focus on getting all the items onto the page.

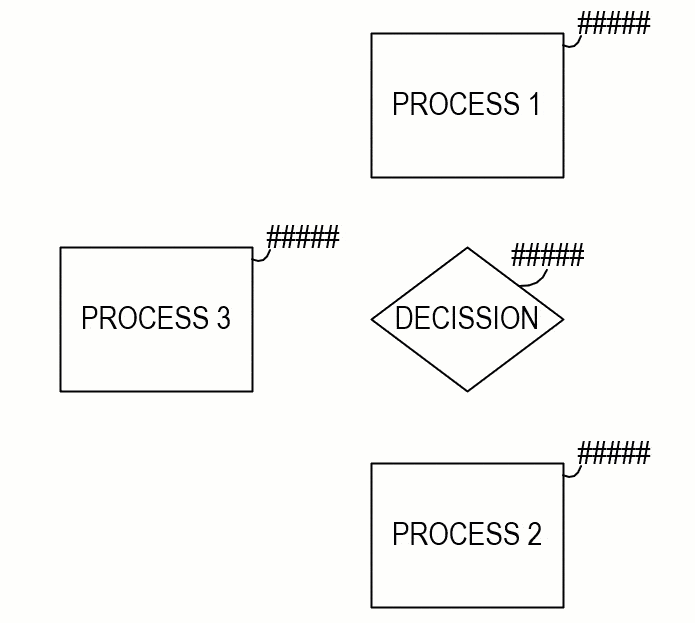
Once you have all the major steps represented by shapes, you can start rearranging them to form the actual diagram. Ignore the connectors for now and concentrate on positioning the shapes. Alignment guides will help ensure even spacing as you move shapes close to each other.
After positioning all the shapes as desired, you can start drawing connectors to complete your flowchart.
Conclusion
Visio simplifies patent drafting by allowing users to drag and drop pre-built shapes instead of constructing drawings from geometric primitives. This assembly-based approach saves time and effort, eliminating the need to draw shapes from scratch and making patent drafting accessible to everyone, regardless of their drafting or artistic skills.
Try This Yourself:
Prerequisite for the Exercise
Before starting this exercise, please follow these steps:
- Download the Files: Fill out the form below to get the Visio-How-Tos–Making-Flowcharts.vsdx and IP-DaVinci-Stencil–Basic-Flowchart-Elements.vssx files.
Download Form
- Open the File and Stencils: After downloading, open the file and stencil(s) to start the exercise.
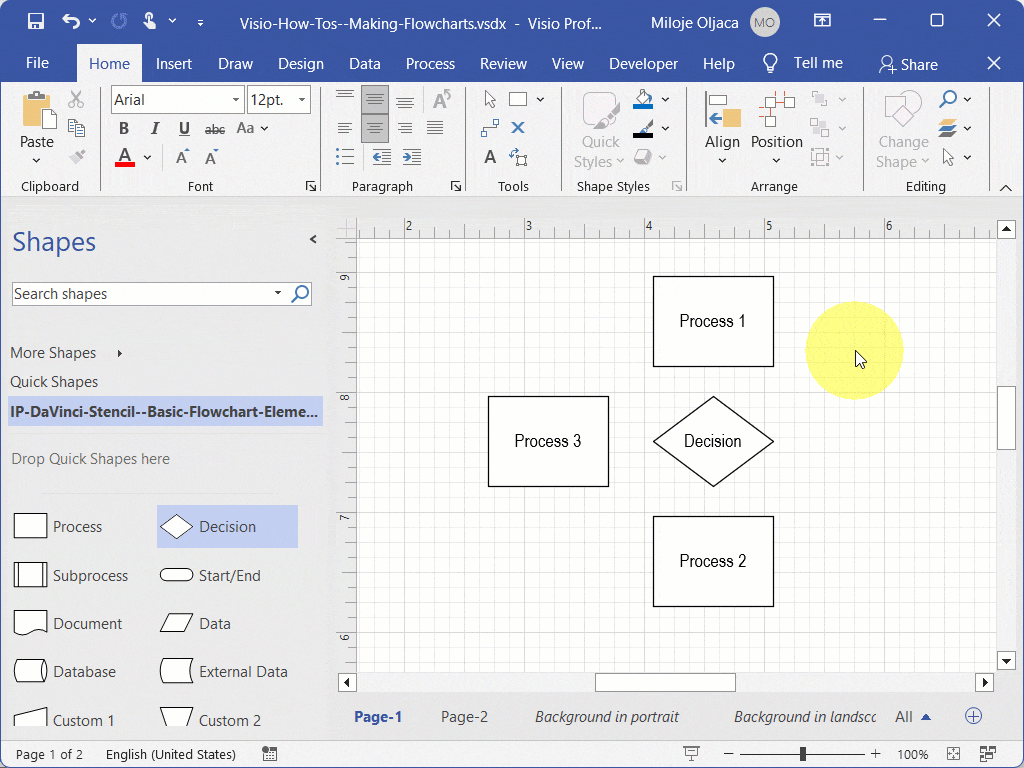
Exercise 1 Steps: Using the AutoConnect Feature to Quickly Create a Diagram
1. Quickly Add Shapes Using AutoConnect:
- Drag and drop the first Process shape onto the canvas.
- Hover over the Process shape to reveal the AutoConnect arrows.
- Use the AutoConnect feature to add a Decision shape directly below the first Process shape.
- Continue using AutoConnect to add another Process shape below the Decision shape.
- Finally, add a Process shape to the left of the Decision shape using AutoConnect.
2. Add Text to Shapes:
- Click on each shape to select it.
- Type your desired text directly into the shape. The text will automatically adjust to fit within the shape’s boundaries.
Exercise 2 Steps: Creating a Diagram Using the Drag-and-Drop Method
1. Add Shapes and Text:
- Drag and drop each shape onto the page without worrying about their final positions. Just place them approximately where they should be.
- As you add each shape, immediately type in the relevant text. This way, you’ll have all your major steps labeled right from the start.
2. Organize Shapes:
- Begin to drag and arrange the shapes into their final positions on the page.
- Use the alignment guides to ensure the shapes are properly aligned.
- Use the spacing guides to ensure equal distances between the shapes for a neat and organized layout.
3. Connect Shapes:
- Select the Connector Tool from the Tools group on the Home tab.
- Click and drag from one shape to another to create a connector between them.
- Repeat this process to connect all relevant shapes in your diagram.
Recommended Training Series
- Visio for IP Professionals: Join our “Visio for IP Professionals” training series to master the art of creating precise patent drawings with Microsoft Visio, enhancing your efficiency and expertise in the IP field.
Recommended Webinars
Further explore the topics covered in this article by attending our webinars. These sessions offer additional insights and the opportunity to ask questions and interact with experts in Visio for patent practice.
- Introduction to Visio for IP Practitioners: Dive into the world of Visio with our webinars tailored for IP practitioners, offering a comprehensive introduction to utilizing this powerful tool for patent drawings.
- Basic Visio Skills for IP Professionals: Discover the fundamentals of Microsoft Visio in our webinar tailored for IP professionals, covering basic skills to streamline your patent drawing process.
- Basic Visio Use Cases Demonstration: Explore practical applications of Microsoft Visio in our webinar, demonstrating basic use cases to improve your patent drawing efficiency and effectiveness.
- Visio Q&A Fridays: Join our “Visio Q&A Fridays” webinar series to get expert answers to your questions and enhance your proficiency in using Visio for IP-related work.
Provide Feedback
We value your feedback! Let us know how we can improve or what topics you’d like to see next.
Connect with Mike
Have questions or need support? Connect with Mike for personalized assistance.
Share Your Experience
Found our series helpful? Share it with your network and help others benefit too!
Leave a Reply
You must be logged in to post a comment.