In Visio, efficient management of reference numbers and lead lines is essential for creating clear and accurate patent drawings. This guide demonstrates how to use IP DaVinci’s custom shapes and stencils to handle reference numbers and lead lines. You’ll learn to drag and drop the combo, adjust lead line ends and shapes, reposition reference numbers, edit text, and move the combo as a unit, saving time and improving drawing precision.
Try This Yourself:
Prerequisite for the Exercise
Before starting this exercise, please follow these steps:
- Download the File: Fill out the form below to get the Visio-How-Tos–Working-with-Reference-Numbers-and-Lead-Lines.vsdx and IP-DaVinci-Stencil–Basic-Reference-Numbers-and-Lead-Lines.vssx files.
Download Form
- Open the File: After downloading, open the file to begin the exercise.
Exercise Steps
1. Open the Stencil:
- Inside the Visio file, go to the ‘Shapes’ window, then navigate to ‘More Shapes’ > ‘Open Stencil’.
- Select the ‘IP-DaVinci-Stencil–Basic-Reference-Numbers-and-Lead-Lines.vssx’ file to access the premade shapes for the exercise.
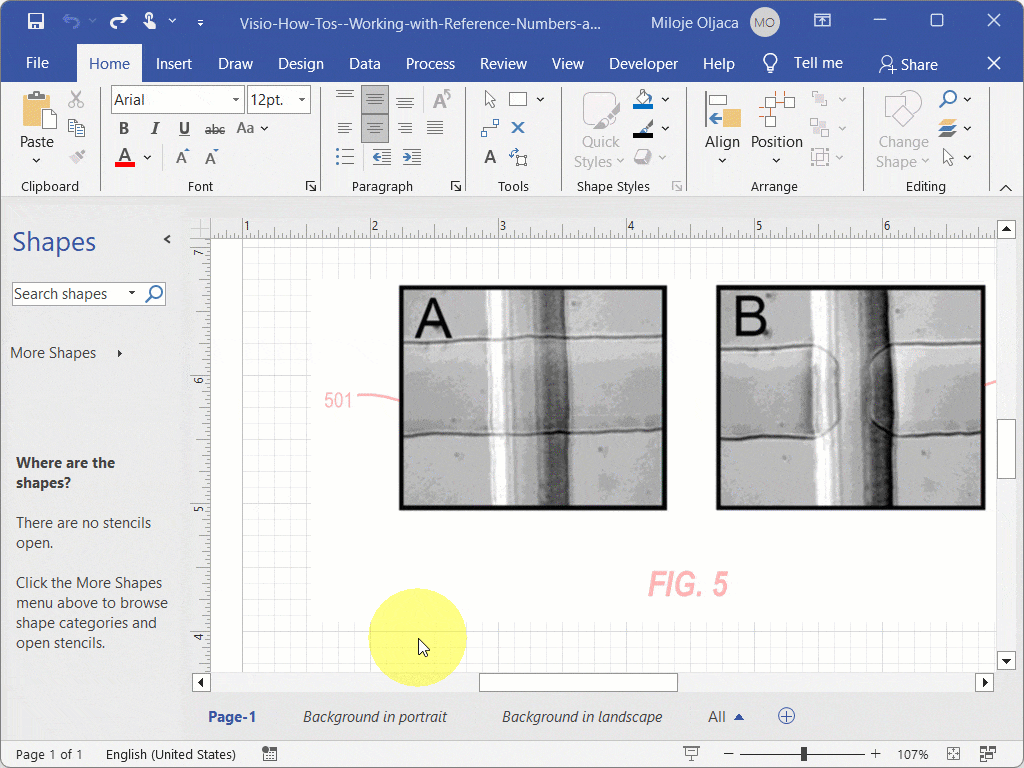
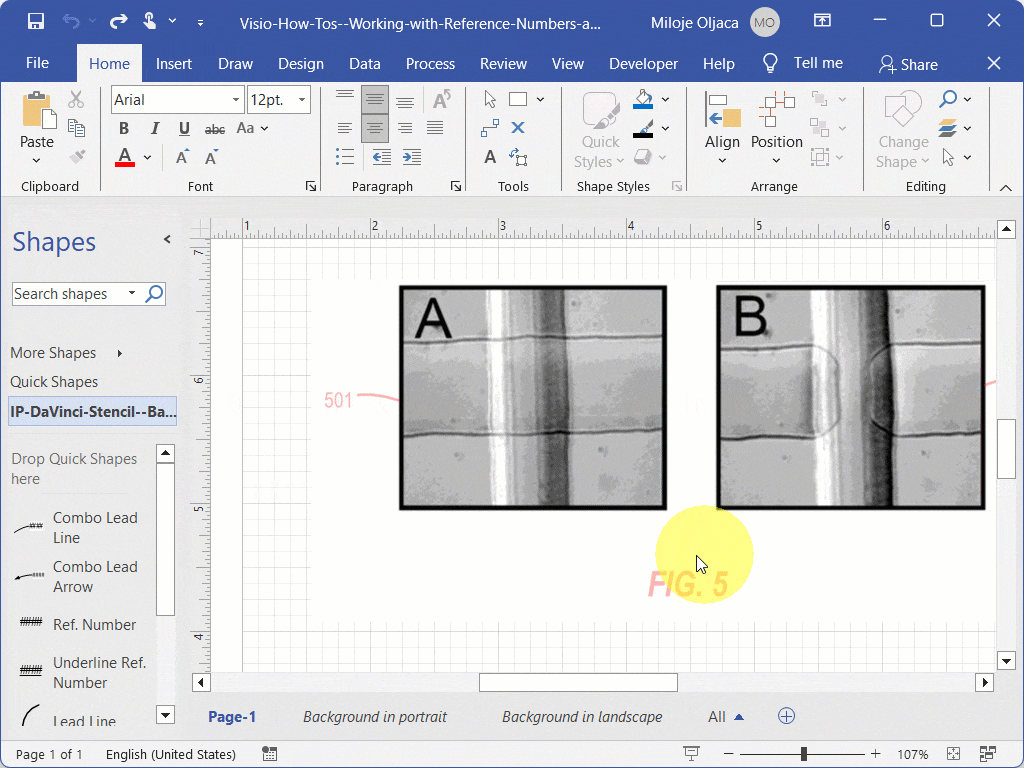
2. Drag-and-Drop the Combo Lead Line Shape:
- Hover over the ‘Combo Lead Line’ shape in the ‘IP-DaVinci-Stencil–Basic-Reference-Numbers-and-Lead-Lines’ stencil within the ‘Shapes’ window.
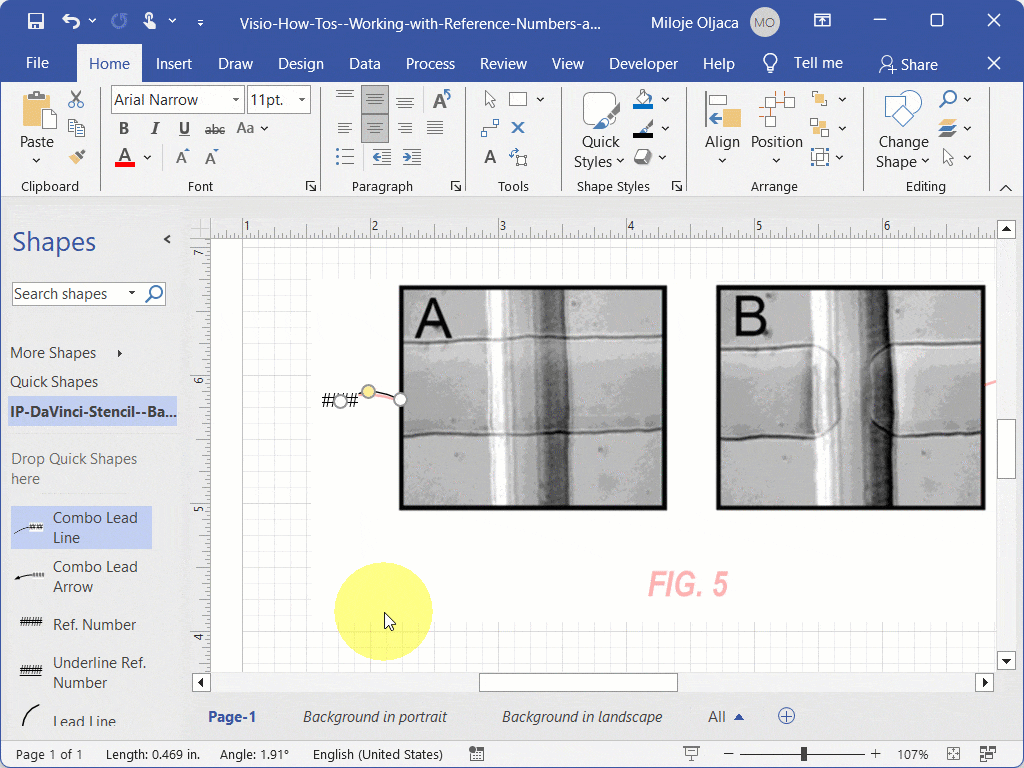
- Press and hold the left mouse button, then drag the ‘Combo Lead Line’ shape from the stencil and drop it onto the canvas, positioning it on top of the first reference number in the image.
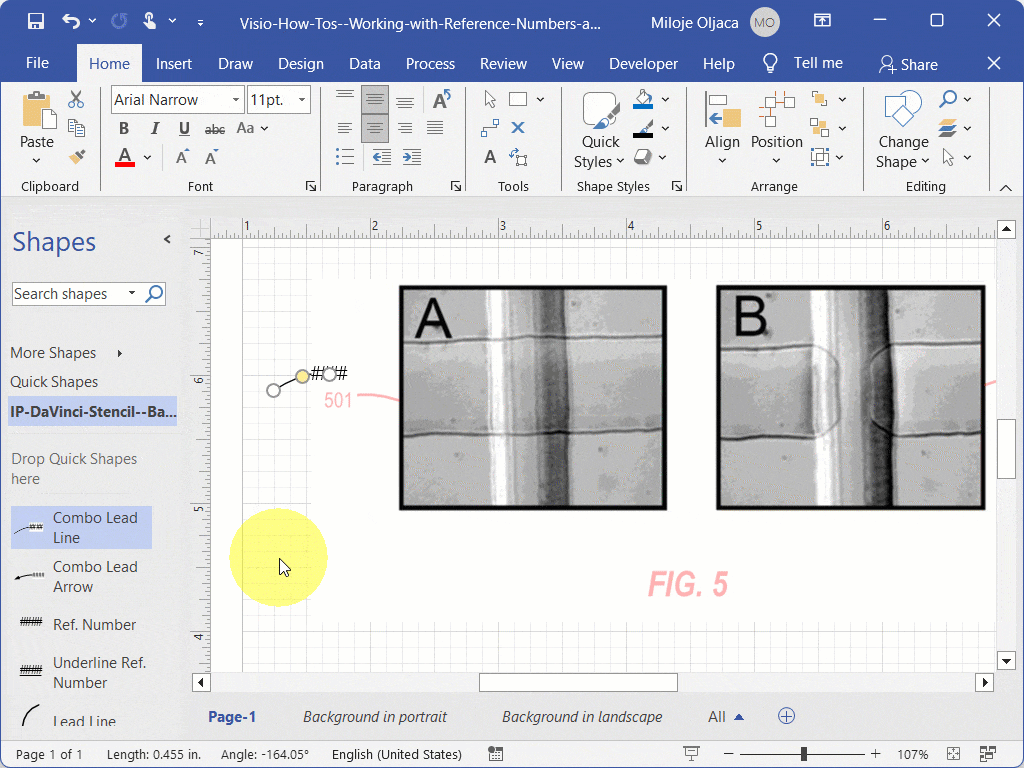
3. Adjust the Lead Line End:
- If the ‘Combo Lead Line’ shape is not already selected, click on it to select it.
- Hover over the white endpoint of the lead line until the pointer appears as a four-headed arrow.
- Press and hold the left mouse button, then drag the endpoint to the left until it touches the left edge of the image, as shown.
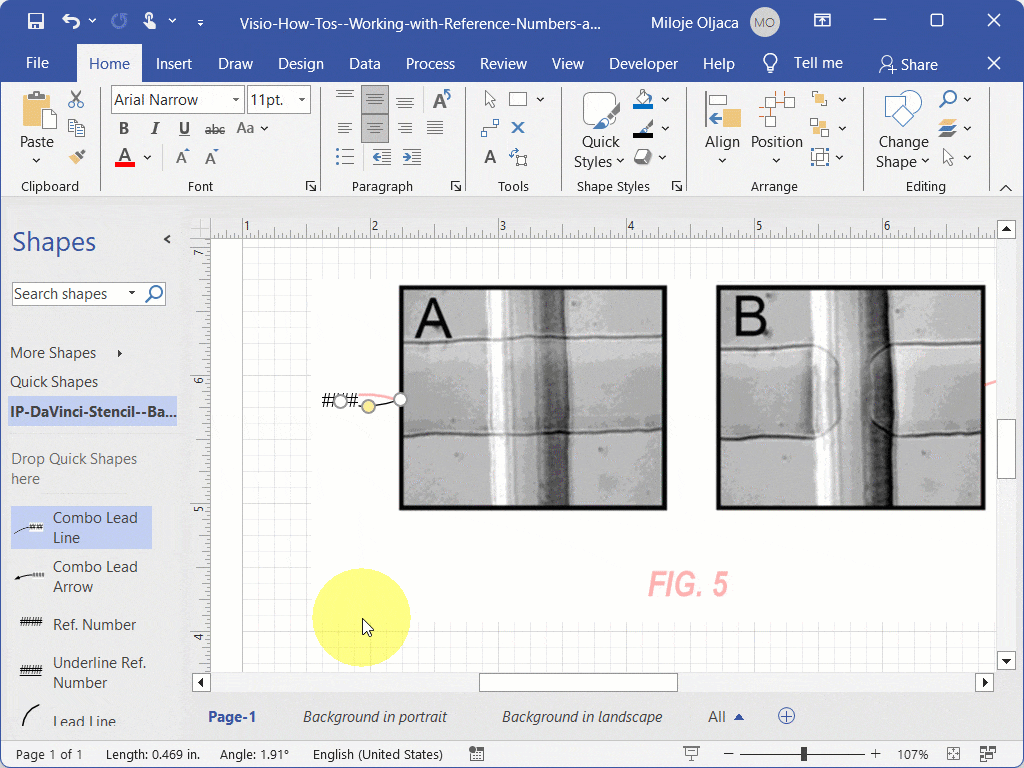
4. Adjust the Reference Number Position:
- Hover over the white point next to the reference number until the pointer appears as a four-headed arrow.
- Press and hold the left mouse button, then drag the point until the reference number is positioned on top of the corresponding reference number on the image, as shown.

5. Adjust the Shape of the Lead Line:
- Hover over the middle yellow point of the lead line until the pointer appears as a four-headed arrow.
- Press and hold the left mouse button, then drag the point until the lead line is shaped and positioned as needed or as shown in the example.
6. Adjust the Reference Number Text:
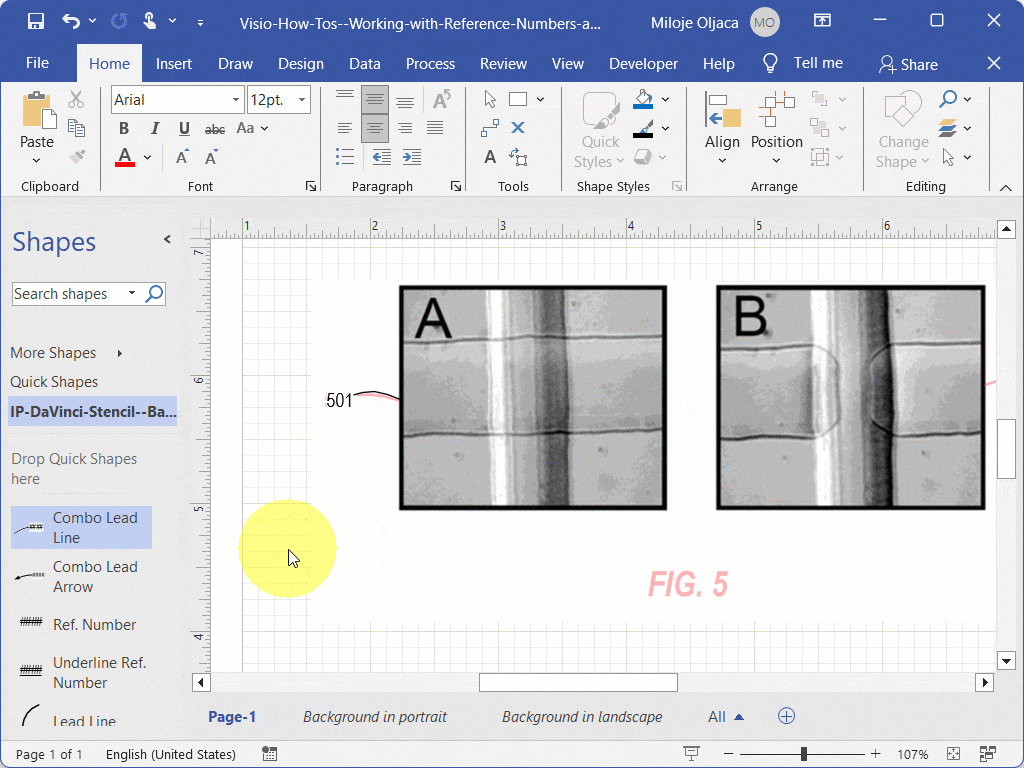
- If the ‘Combo Lead Line’ shape is not already selected, click on it to select it.
- Start typing to replace the original placeholder text (####) with the new reference number.
7. Move the ‘Combo Lead Line’ Shape:
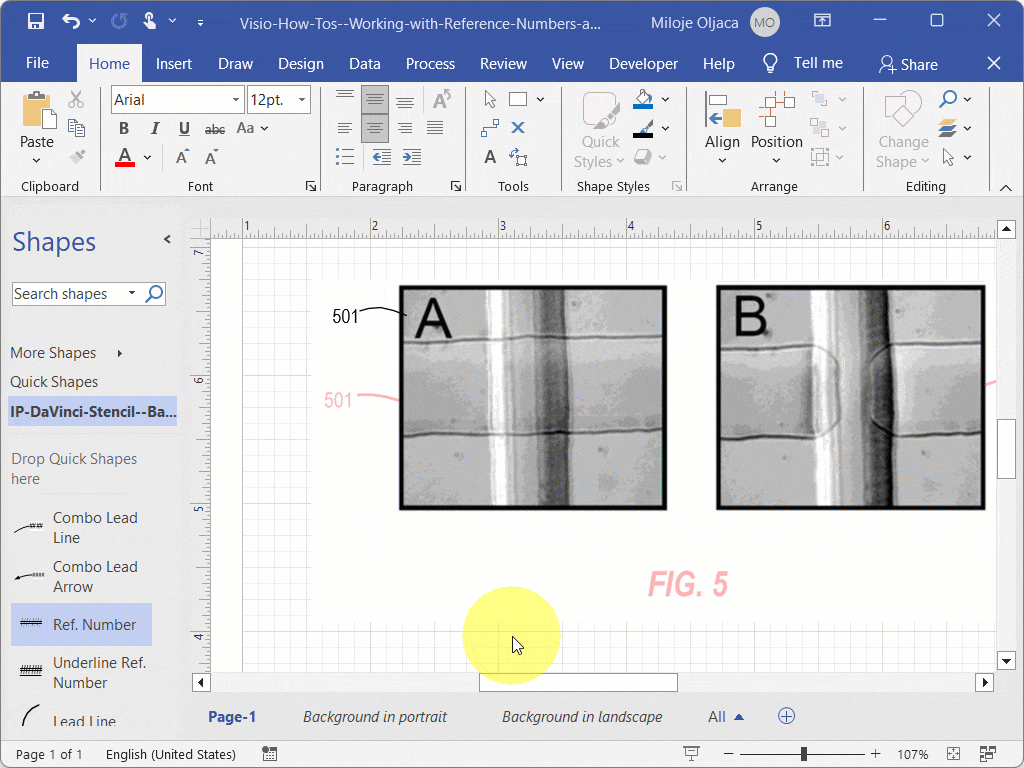
- If the ‘Combo Lead Line’ shape is not selected:
- Hover over the shape until the pointer appears as a four-headed arrow.
- Press and hold the left mouse button, then drag the shape to a new position on the canvas.
- If the shape is already selected:
- Ensure that your cursor is not pointing on any of the two white points or the yellow point of the shape.
- Press and hold the left mouse button, then drag the shape to a new position on the canvas as needed.
8. Add a Figure Number:
- Drag and drop the figure number shape from the stencil onto the canvas.
- Double-click the figure number shape to select all the text.
- Click one more time at the end of the text to position your cursor at the end.
- Press the Backspace button on your keyboard to delete the original placeholder figure number (1).
- Type the new figure number as needed.
Recommended Training Series
- Visio for IP Professionals: Join our “Visio for IP Professionals” training series to master the art of creating precise patent drawings with Microsoft Visio, enhancing your efficiency and expertise in the IP field.
Recommended Webinars
Further explore the topics covered in this article by attending our webinars. These sessions offer additional insights and the opportunity to ask questions and interact with experts in Visio for patent practice.
- Introduction to Visio for IP Practitioners: Dive into the world of Visio with our webinars tailored for IP practitioners, offering a comprehensive introduction to utilizing this powerful tool for patent drawings.
- Basic Visio Skills for IP Professionals: Discover the fundamentals of Microsoft Visio in our webinar tailored for IP professionals, covering basic skills to streamline your patent drawing process.
- Basic Visio Use Cases Demonstration: Explore practical applications of Microsoft Visio in our webinar, demonstrating basic use cases to improve your patent drawing efficiency and effectiveness.
- Visio Q&A Fridays: Join our “Visio Q&A Fridays” webinar series to get expert answers to your questions and enhance your proficiency in using Visio for IP-related work.
Provide Feedback
We value your feedback! Let us know how we can improve or what topics you’d like to see next.
Connect with Mike
Have questions or need support? Connect with Mike for personalized assistance.
Share Your Experience
Found our series helpful? Share it with your network and help others benefit too!
Leave a Reply
You must be logged in to post a comment.